
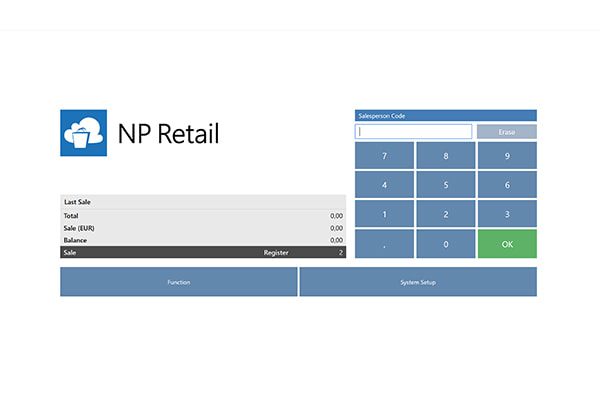
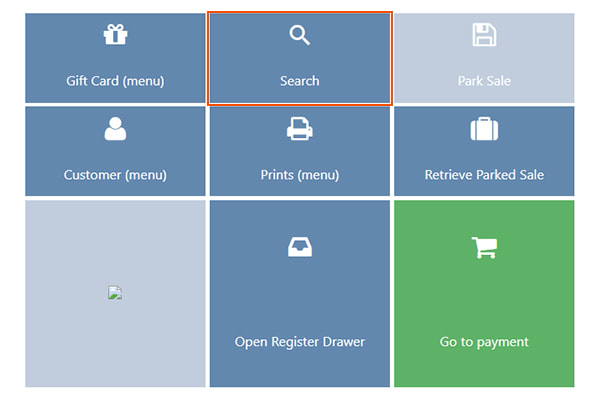
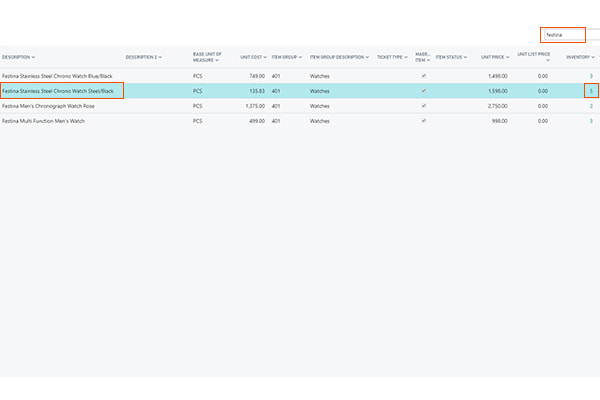
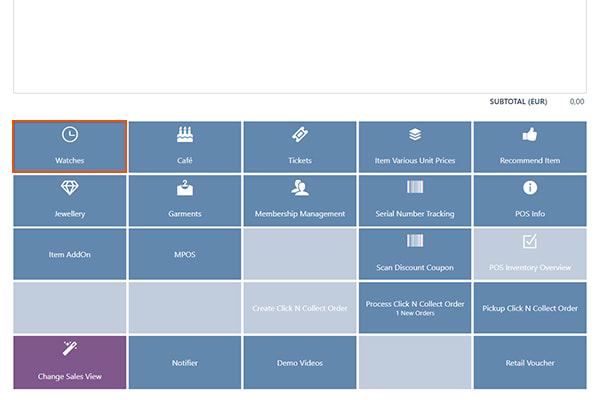
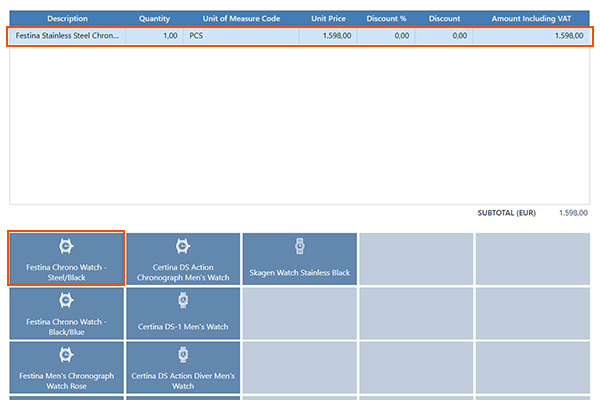
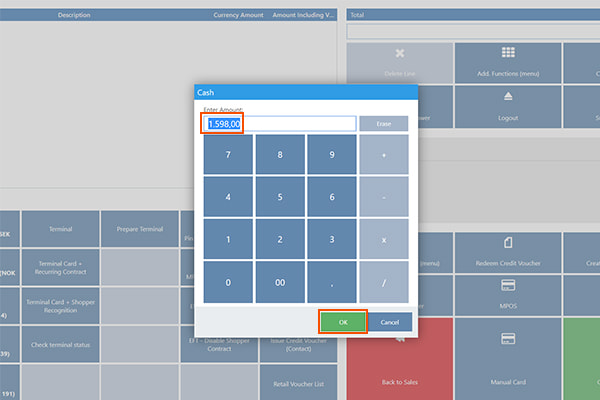
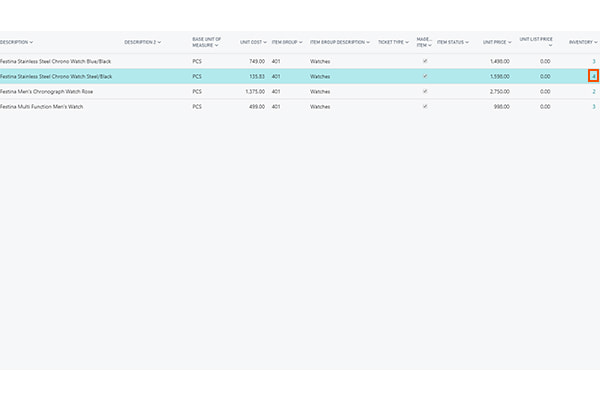
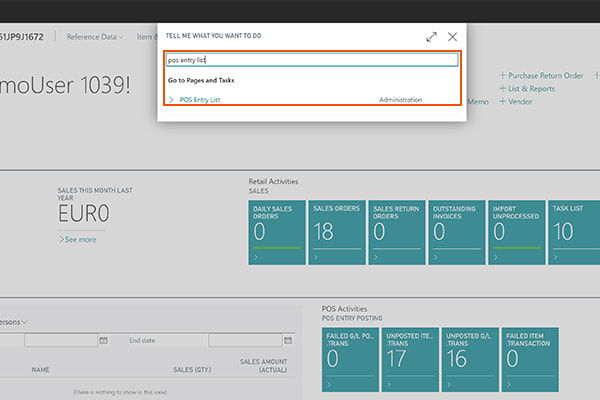
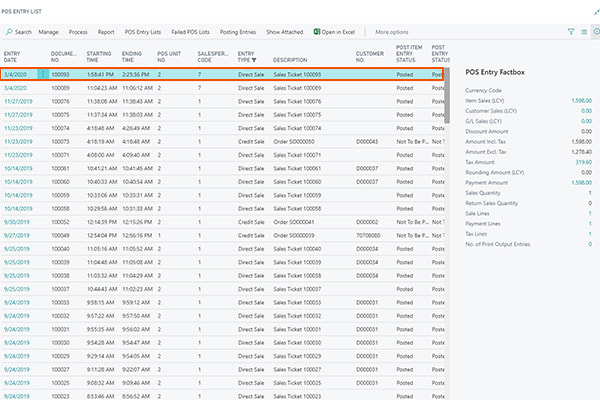
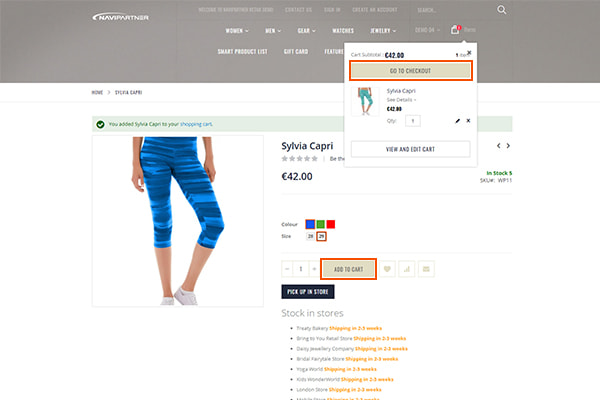
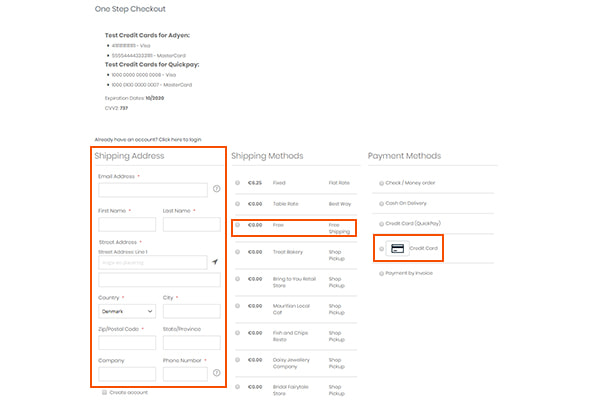
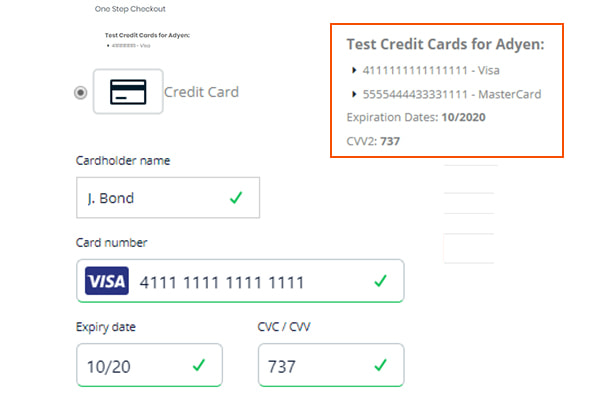
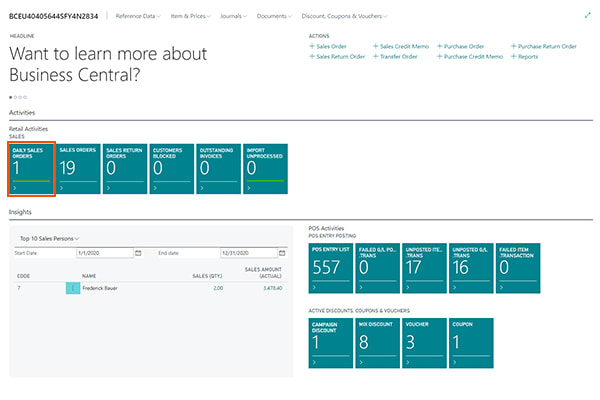
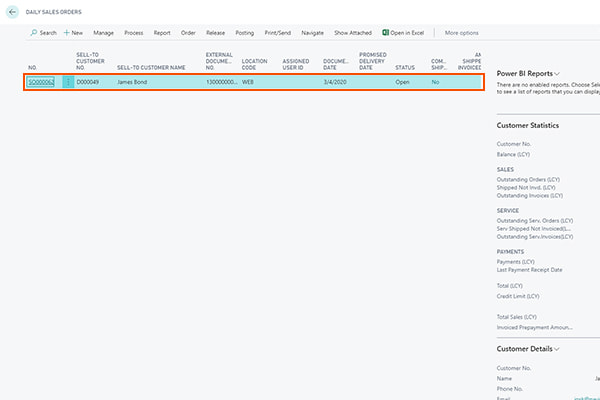
In this video, you will get an introduction to the trial and some of its many possibilities and features. You will i.a. see how to perform a sale in the POS, NP Retail, and how this sales order shows up in Dynamics 365 Business Central afterwards, as well as how an order placed in the web store can be seen in Business Central.

If you prefer to read this introduction in text instead look below.

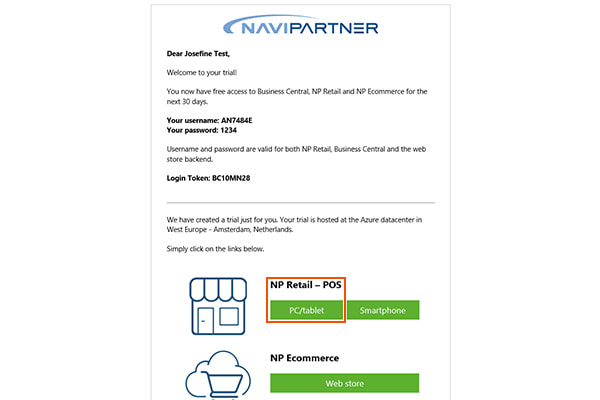
Haven’t you already downloaded a trial?
Download a trial »

Experiencing any issues?
Go to the support page »

Step 1: Access the POS

The initial email you got after ordering the trial features a multitude of links.
Click on the first link “NP Retail – POS” to open up the POS.

Use username and password listed in the email to log in.

Step 2: Activate the POS

To activate the POS, you choose a “Salesperson Code” between 1 and 9.
Press “OK”.

Step 3: Inventory level before a sale

Now you can perform a sale, see how the sale affects the inventory level, and check how the sales order shows up in the ERP system.

To check the inventory level, click on the “Search”-button, then “Search (All items)”, which lists all the products on sale.

As an example, type in: Festina Stainless Steel Chrono Watch Steel/Black.

To the right on the lookup item, you see that the inventory level of the Festina watch is 5.
Press cancel after you have seen the inventory level of the watch.

Step 4: Perform a sale in the POS

To perform a sale of the Festina watch, press the button “Watches” on the screen.

Press “Gentlemen”

Press “Festina Chronograf Steel/Black”

You now see that the watch has been added as a sales line.

Step 5: Payment of the item in POS

When the watch is added as a sales line on the screen, the customer can pay for the item.
Press the green button “Go to payment”.

If the customer pays by cash, you press the button “Cash Payment”.

Now you type in the amount of cash that the customer pays.
Press “OK”.

The sale is now completed, and the POS is ready for a new sale.

Step 6: Inventory level after a sale

Now that the sale of the watch has been completed, you can go check how it has affected the inventory level. You check the inventory level by clicking the “Search”-button, then “Search (All items)”, which lists all the products on sale.

Type in: Festina Stainless Steel Chrono Watch Steel/Black.

To the right on the search item, you see that the inventory level of the Festina Stainless Steel Chrono Watch Steel/Black watch is now 4 after you performed a sale of one watch.

Press cancel after you have seen the inventory level of the watch.

Step 7: Access Dynamics 365 Business Central

To see the sales order of the Festina Watch sold in the POS system, you need to access the ERP system. To access Business Central to see the sales order, you click on the third link in the email. Business Central will now open in a web browser.

Fill in the login information listed in the email.

Step 8: See sales order from the POS

When you have access to Business Central, you navigate to the search icon in the top of the screen, type in “pos entry list”, and click on the search result.

You now see the sales order of the watch. If you click on the order, it is possible to see different kinds of information about the order, such as the item sold and the payment type – in this case the Festina watch paid by cash.

The POS is, however, not the only way to perform a sale. Another is to sell items in a web store. Follow the next steps to see how the web store works.

Step 9. Access web store

To access the web store, you click on the second link in the initial email you got after ordering the trial that features NP Ecommerce – Web store.

Step 10: Perform a sale in the web store

On the screen, you see the front page of the web store. Under “Weekly Featured Products” choose the Sylvia Capri as an example, choose color and size, and Add to Cart.

In the top right corner, you see the added item in your cart.
Press “Go to Checkout” to pay for your item.

Step 11: Pay for the item in web store

In checkout, you type in your address and shipping method.

For payment methods, you choose to pay by credit card.

Agree on the terms and conditions.

Type in the test card information shown on the screen.
Fill in Card number, Expiration and Card verification data.
Press “Place Order” in the bottom of the page, when you have filled in the card information.

When you see the “Thank you for your purchase” page, you have now placed an order on the NP Ecommerce web store. To see what the sales order looks like in the Business Central, follow the next steps.

Step 12: Access Business Central

To see the sales order of the Sylvia Capri sold in the web store, you access the ERP system. To access Business Central, you click on the third link in the e-mail.

Business Central will now open in a web browser.
Fill in the login information.

Step 13. See sales order from web store

When you have access to Business Central, you navigate to the “Daily Sales Orders” in one of the green tiles to the left of the screen.

Press the button.

You now see the sales order as a sales line. To see more information, press the sales line of the order. The order is now ready to be processed.

Close Menu